How to Give Yourself an Easy At-Home Facial

Great skin takes work. Whether that means you are getting regular professional treatments or that your at-home routine is consistent and holistic, or a combination of the two, it is important to focus on it.
Many things affect skin including stress, alcohol and an unbalanced diet, which can cause dehydration, breakouts, and sallowness.
Below, is a curated recipe for a simple, yet effective, facial that you can do at home that will help hydrate, calm and restore your skin.
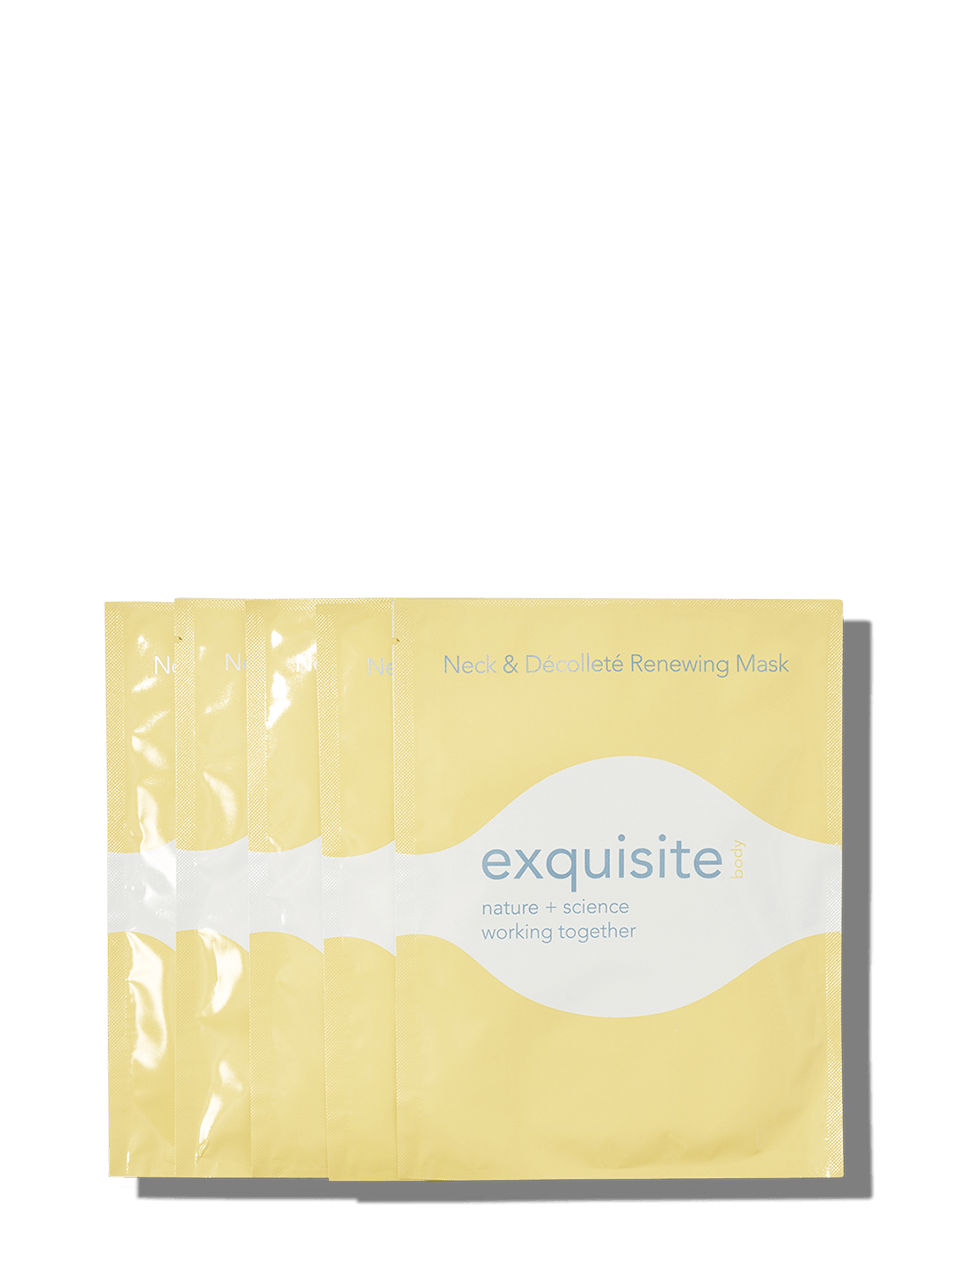
Tip: Don’t forget that the face starts at the nipples and ends at the hairline, so make sure to include your neck and decollete in each step.
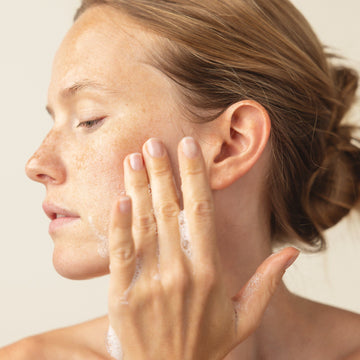
Step 1: Cleanse
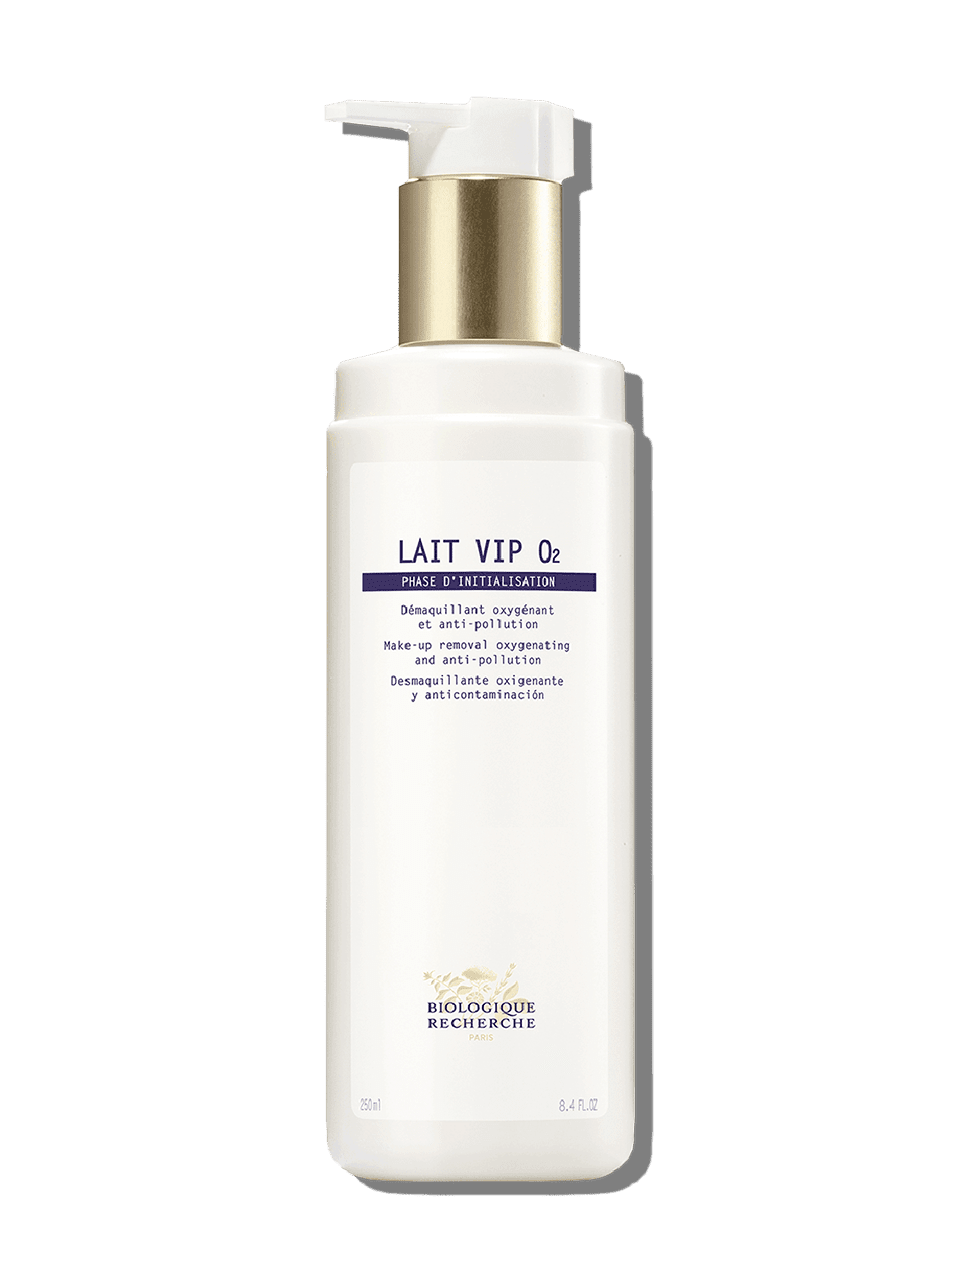
This is a simple, but vital first step. In the evening, you should use a cleanser that is appropriate for your skin’s condition. I have about 10 in rotation as I know what my skin needs on any given day, which can change. But If in doubt, choose a gentle creamy or milky cleanser. In the morning, a quick rinse with water will suffice, but you can also use a cleanser if you wish.
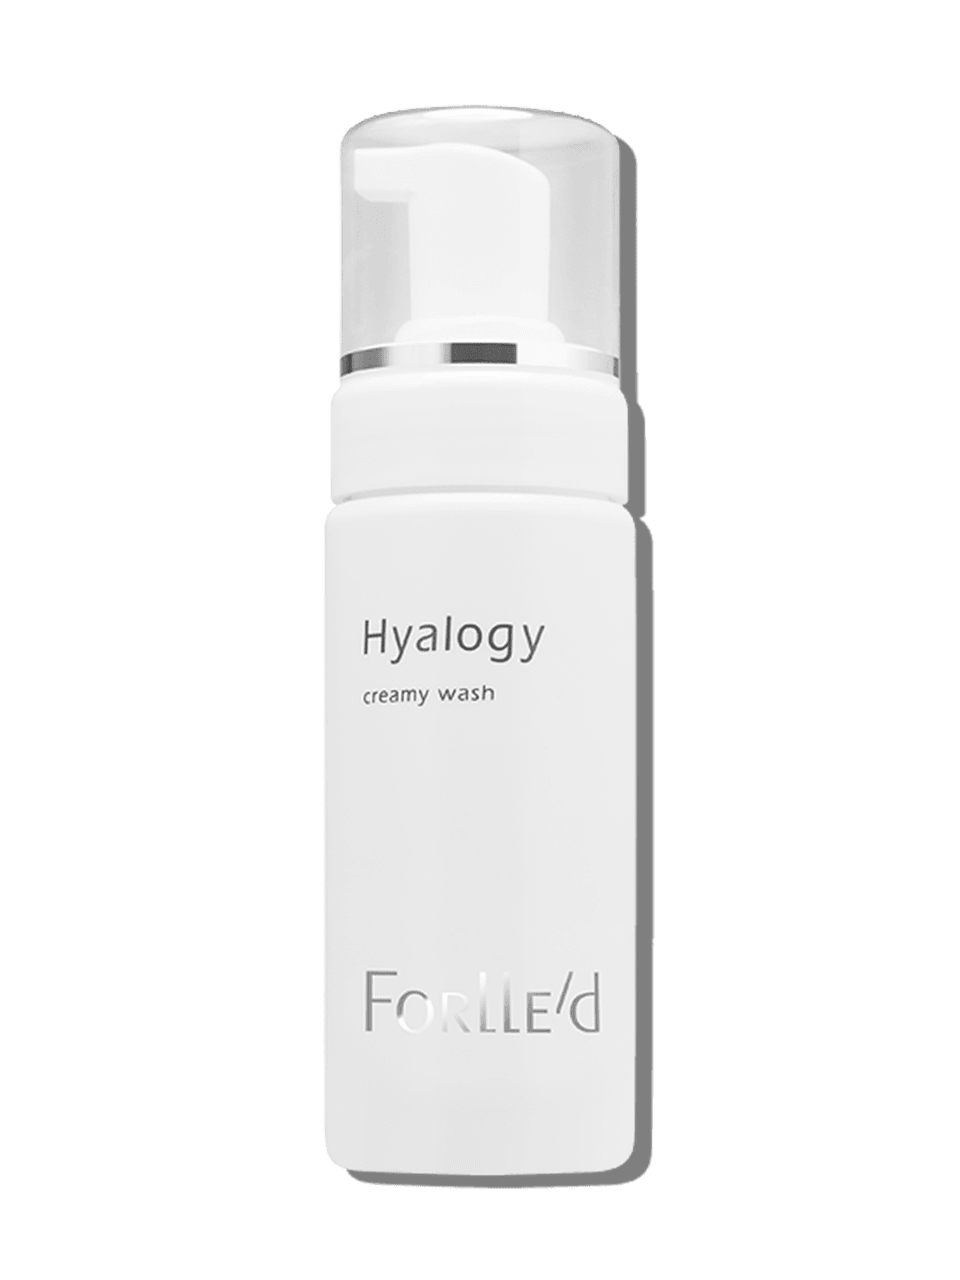
Forlle'd
Hyalogy Creamy Wash
Step 2: Tone
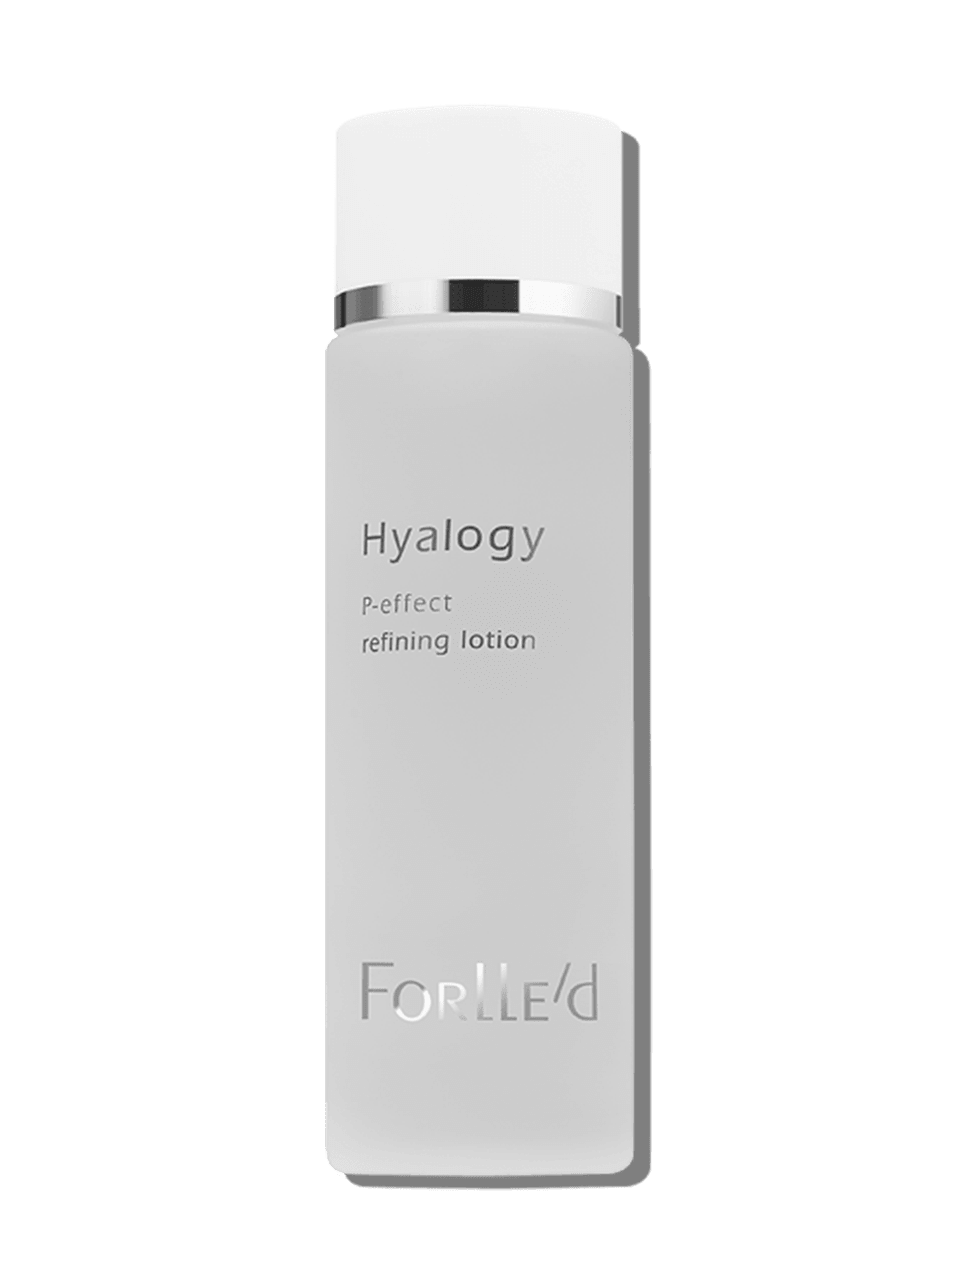
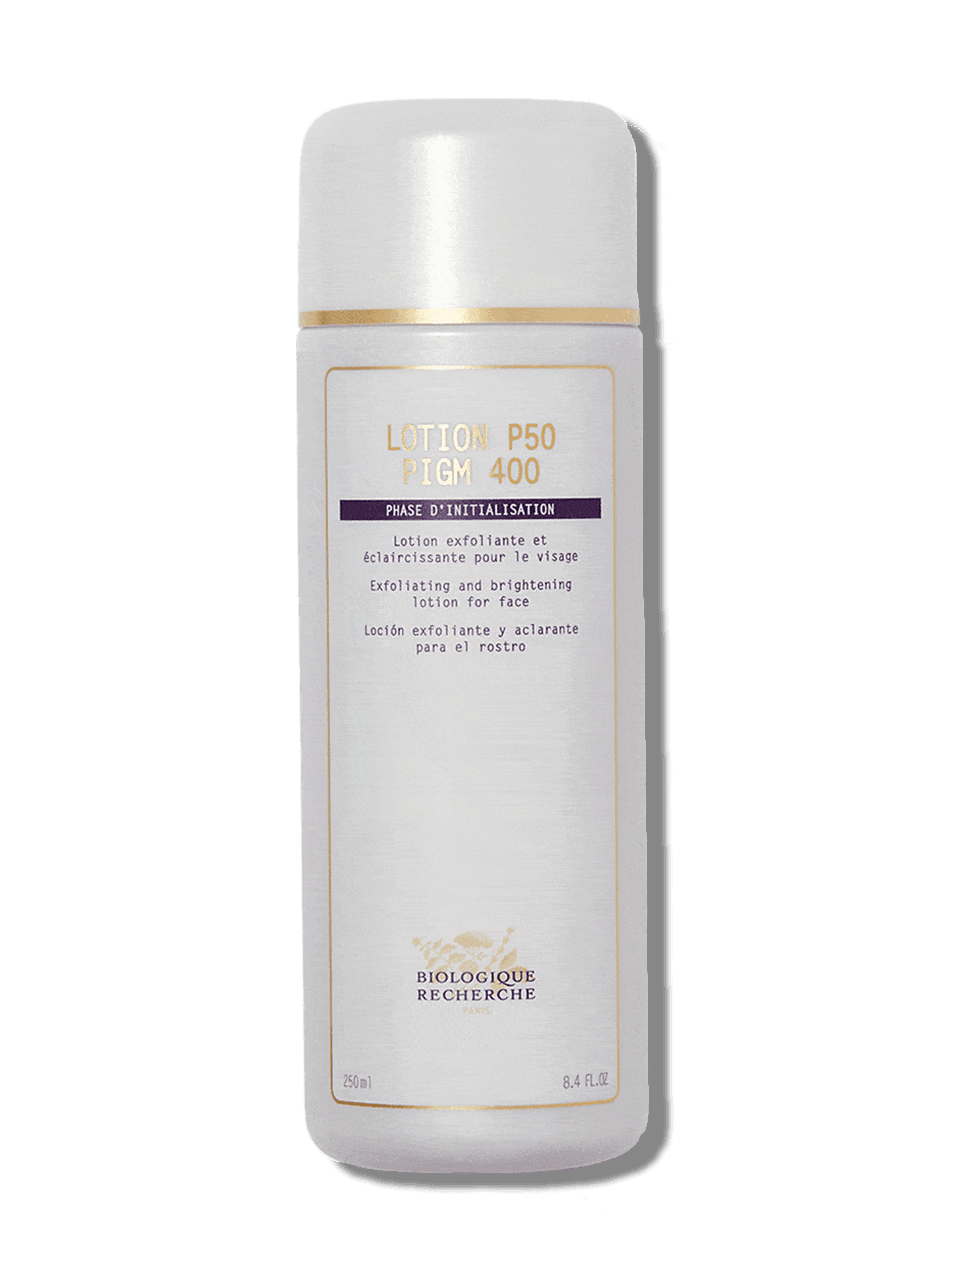
This step is often ignored or misunderstood. Toner is NOT a second step of cleansing, rather it is the first step in hydration and it balances the skin’s pH so that the products that follow it are more effective. In the evening, I like a more active micro-exfoliating version and in the morning I tend to prefer a gentler one.
Step 3: Massage
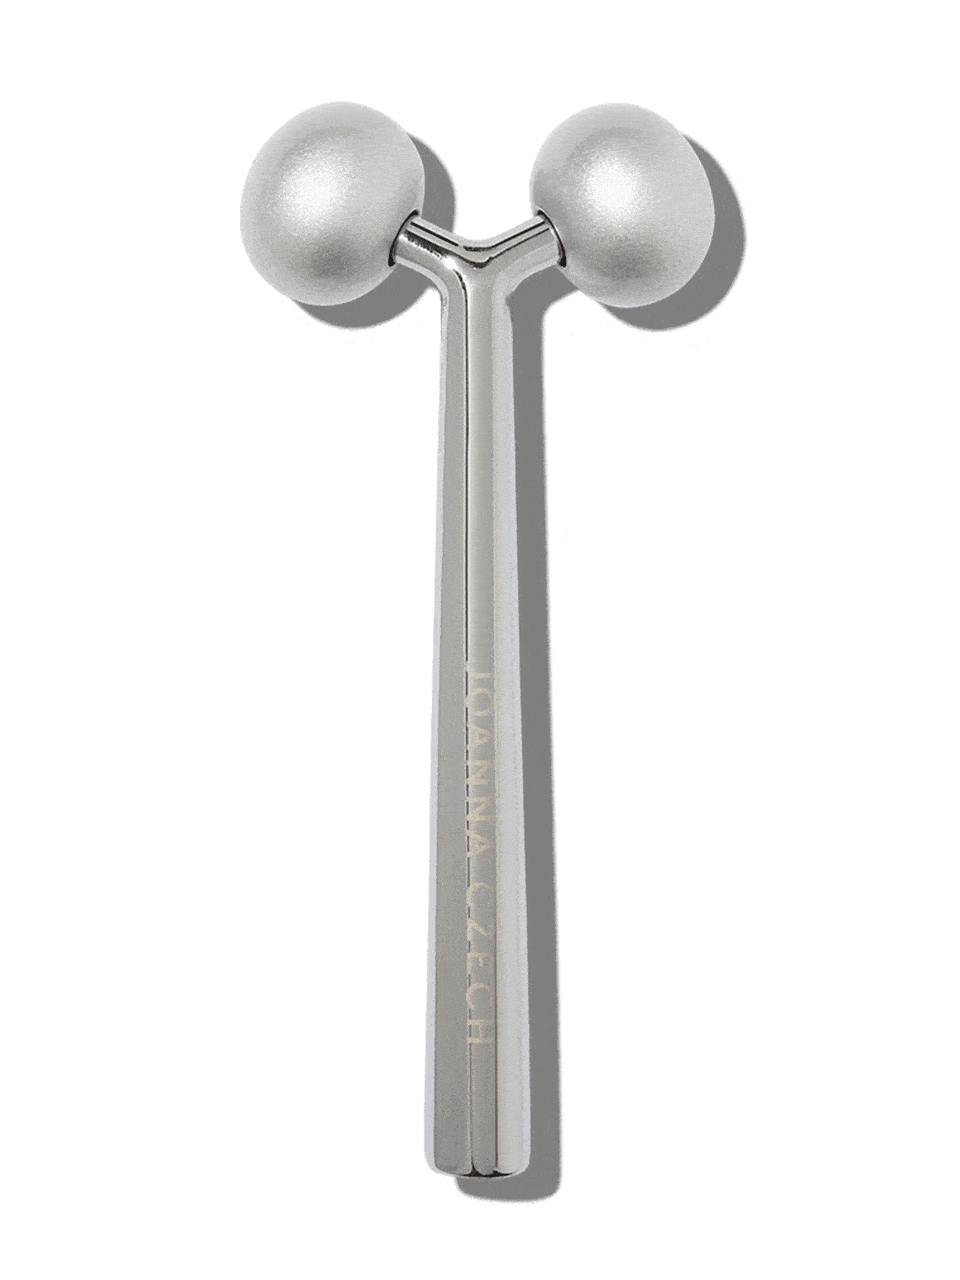
Massage is one of the most important steps in an effective skincare routine. It energizes the skin and speeds up circulation, bringing more oxygen to the tissue which is brightening. It can also change the shape of the face; lifting the brows, the jawline and emphasizing the cheekbones. You can do a manual massage or use whichever massager or roller you prefer. Do it for at least 5-7 minutes.
Tip: If your skin is particularly broken out, I would skip this step and use a mask instead.
Step 4: Application of Serum
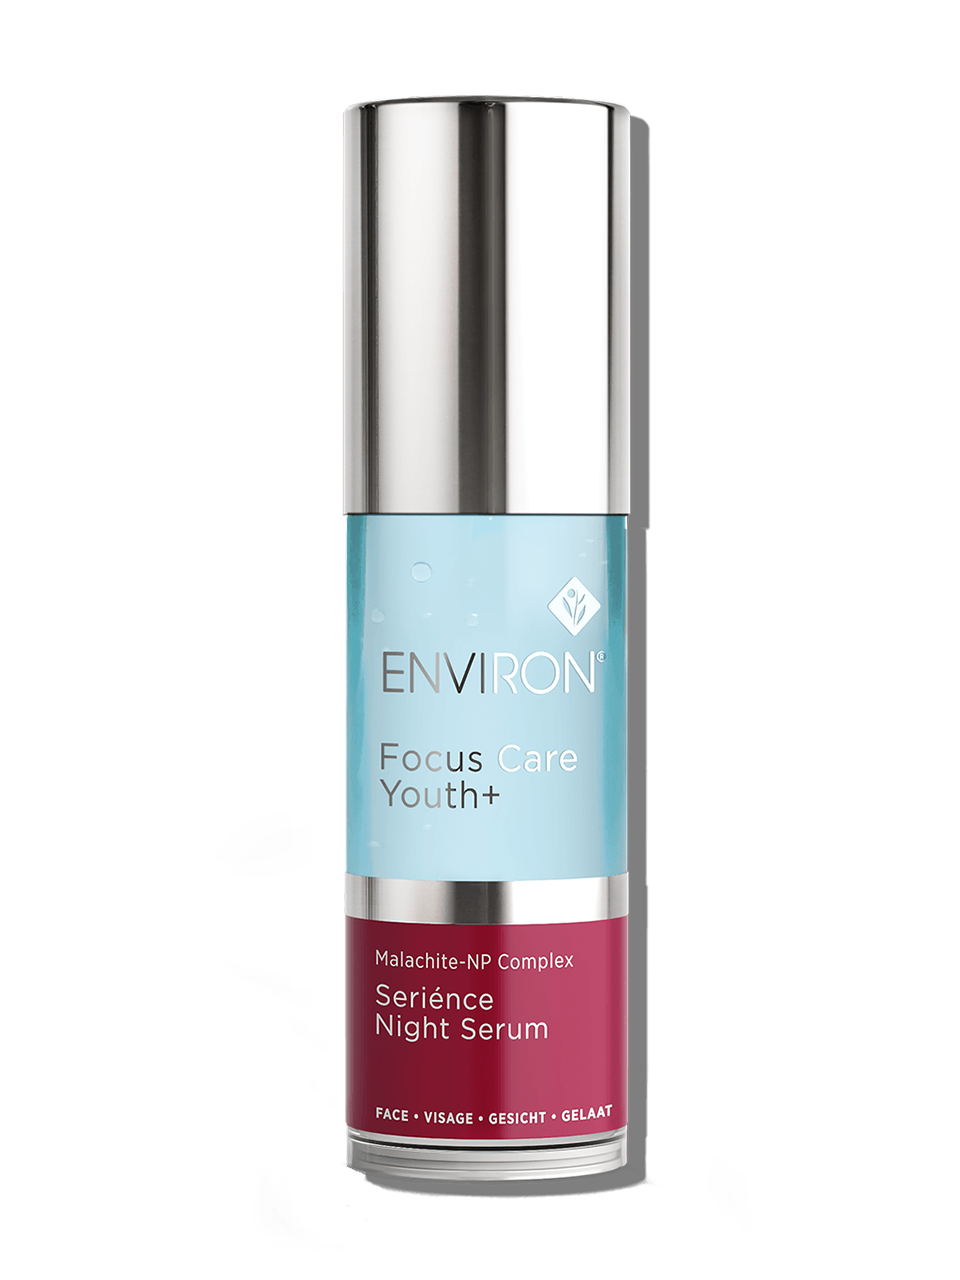
Serums deliver highly concentrated ingredients directly into the skin to heal, rejuvenate and improve skin’s health overall. They are made up of small molecules that are able to penetrate deeply into the skin. There is one for every skin condition. And they can also be cocktailed together to address several.
Please note: Depending on the mask you are using, you may or may not need a serum.
Step 5: Sheet Mask Application
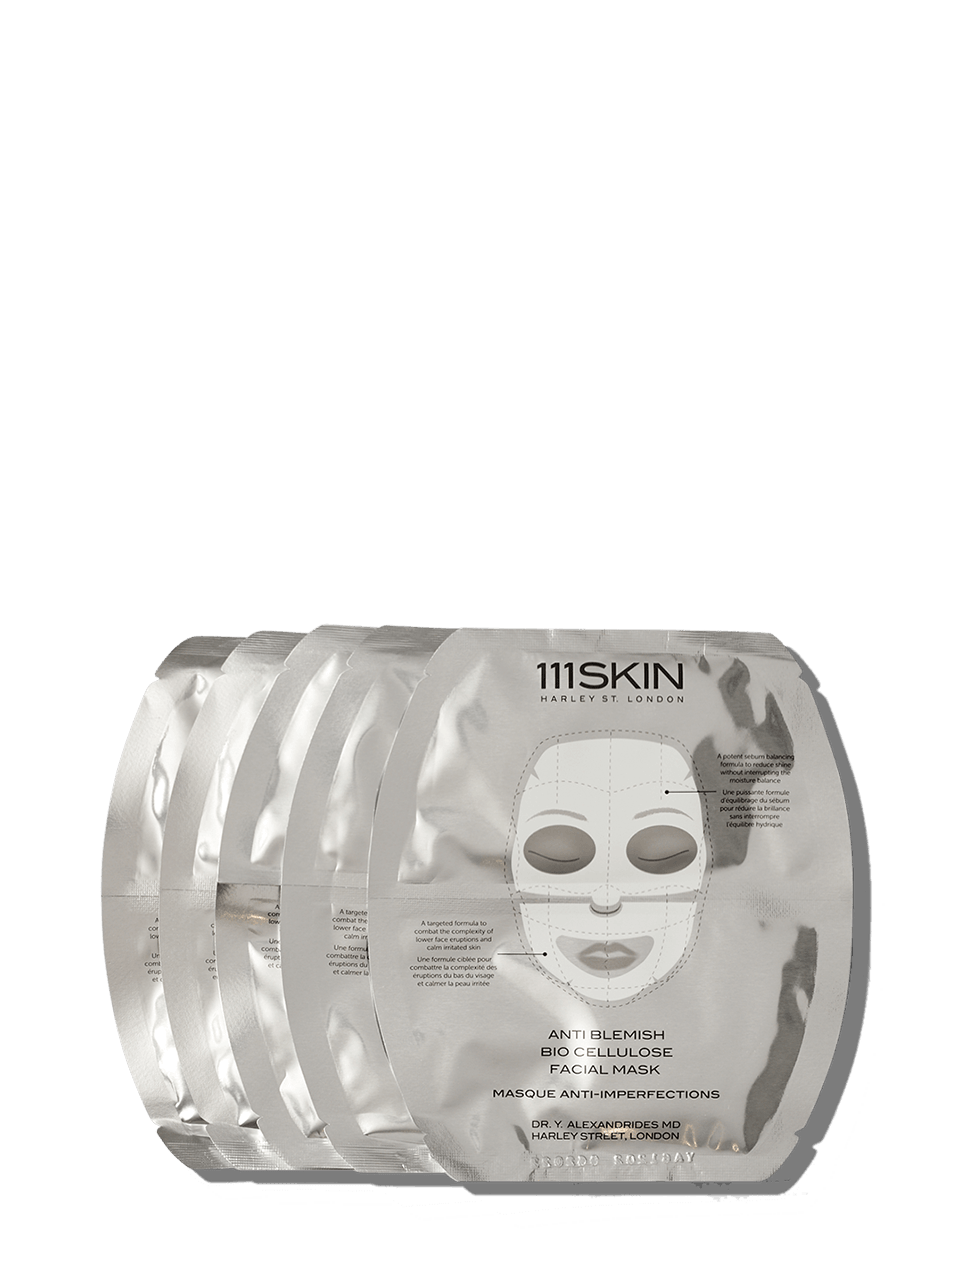
Masks are an easy way to nourish and support the skin. They can address different conditions and various areas of the face. They can be layered as well, and can often replace serums depending on what they are used for. Leave on for 20 minutes.
Application Tip: Roll an ice cube over the sheet mask for an added cooling effect.
Step 6: Moisturize
This final step is key to any routine. Moisturizers lock in water (in other words, hydrate the skin) using a few different ingredients - occlusives (which prevent water loss), humectants (which attract water to cells) and emollients (which smooth skin cells and allow water to penetrate).
